 |
| |
Rebuilding the Bendix brake master cylinder...
Well... it had to be done, so here goes
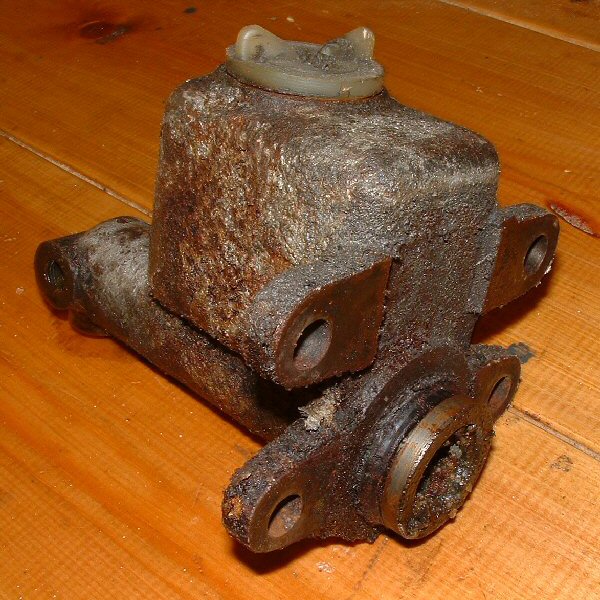
The brakes on the Cadillac had not been excercised for about eight years and the pedal definitely felt stiff and sluggish and, with no brake servicing for probably double that time, I would say that it was a fair bet that everything needed doing. There were two different brake power unit/master cylinder options used on all Cadillacs in 1960: Delco Moraine, and Bendix. The type that was fitted at the factory on my car was Bendix. Removing the master cylinder was straight forward enough. Once the outlet brake line was disconnected it was just the four nuts and washers and off it came. Well, it never looked so dirty before it was removed! |
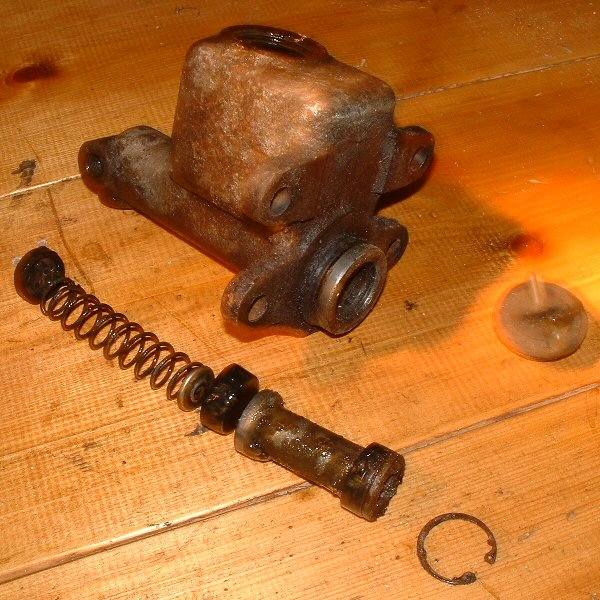
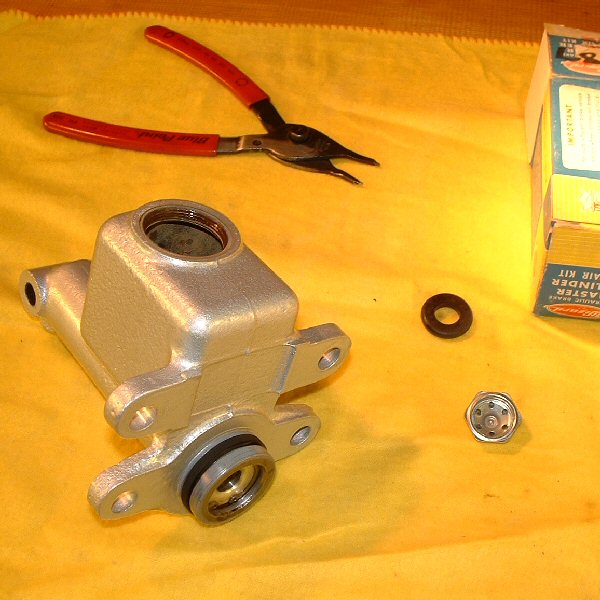
Here it is with the guts removed. The piston didn't want to come out at first, and the last little piece - the residual pressure valve - only popped out after I treated the master cylinder to a heavy thump against a piece of wood on the garage floor! Inside was a sludgey mess, this was a job that definitely needed to be done! |
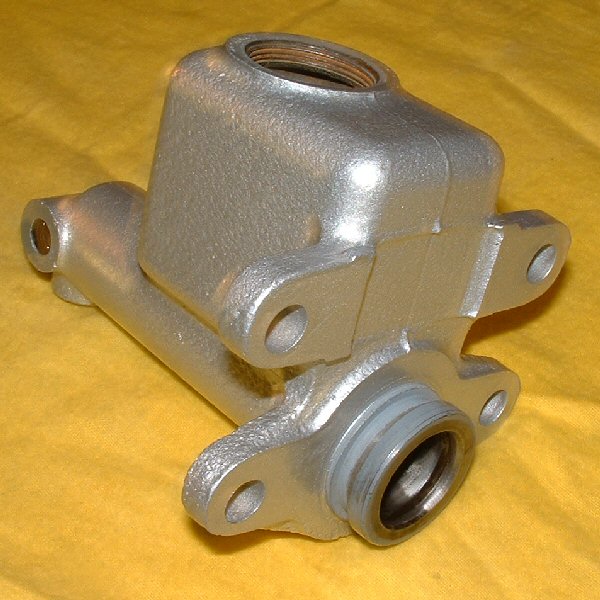
The stripped out master cylinder body came with me to work for a clean. It got a thorough flushing out and, after carefully masking the openings, I gave the outside surface a blasting, removing every bit of rust. Having friends in the paint shop is a bonus and the end result is a two-pack silver paint finish. When I got it home I was able to remove a small area of light surface corrosion inside the cylinder bore with some fine grade emery cloth. |
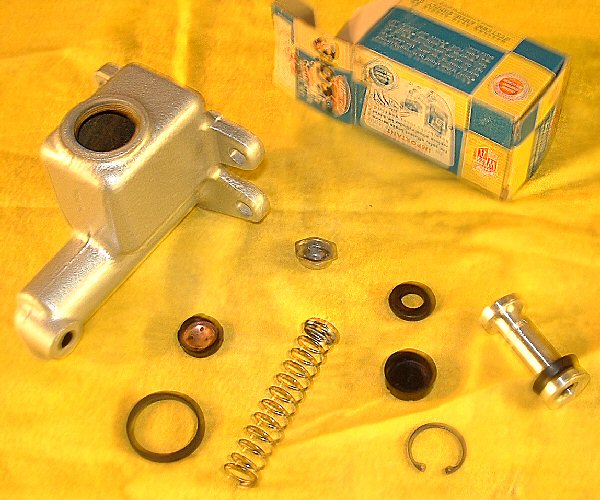
Here are all the internal bits and pieces. The parts were assembled on a clean bench, using fresh brake fluid and spotless fingers. Care was needed getting the secondary piston seal past the snap ring groove without damaging it, and then holding it all in place under spring tension whilst you get the snap ring in place. |
Once assembled, all the air trapped between the seals of the piston had to be expelled. This was accomplished by added some brake fluid to the resevoir and then pushing the back of the piston in and out until bubbles stopped coming out from the compensator port. There it is all finished and ready to install. Whoops! Only two bits left over... actually these are extra parts for a different configuration. |
| Home | Astronomy | Cadillac | Palms | Photos | Games | Guest Book | Favourites | HTML | Site Map | Search |
| Best viewed at 1024 x 768 screen resolution using Internet Explorer 5.5 and higher or Netscape 6.0 and higher. Last Updated: |